The art of violin making is a marriage of passion, skill, and deep musical understanding. Each violin is not just a musical instrument, but a unique masterpiece shaped by the hands of a highly skilled luthier. At Kennedy Violins, we believe that each and every detail of a violin counts, right from the choice of wood to the application of the varnish.
Making a violin needs perseverance and fine attention to detail. Every groove, every curve influences the final sound that the violin produces. In this blog post, we aim to unravel the meticulous process of crafting a violin. From the selection of materials to the precision carving, finishing, and stringing, we will walk you through this fascinating journey of creating a beautiful, soulful instrument.
So, let’s delve into the subtle world of violin making to understand what gives these instruments their resonant voice and deep emotional expressiveness.
Gathering the Necessary Materials
The first step in the process of violin making involves gathering all the necessary materials. To craft a violin, you’ll need a variety of woods since each part of the instrument requires a separate kind. Typically, spruce is used for the violin’s top, maple for the back, neck, ribbing, and bridge, and ebony for the fingerboard.
Violin making also requires specific tools such as a chisel set, gouges, a knife, various files, and a plane. You will also need a form or template to shape the violin’s body, and specialized clamps for holding glued parts together.
Lastly, be sure to secure varnish and paint brushes for the finishing touch. Exact types of varnish can vary widely, influenced by personal preference and traditional methods.
Remember, the quality of materials and tools directly affects the end result, so choose wisely.
Drafting Your Violin Design
Beginning a violin build requires a well-crafted design. Initial conceptualizing allows for a custom tailored instrument – a reflection of your unique taste and needs.
Start by researching traditional violin patterns, considering each one’s aesthetic appeal as well as tonal characteristics. Find a pattern that resonates with you both visually and audibly.
Once you’ve selected an overall ‘type’ for your violin, it’s time to customize. Alterations can be made for individual nuance – do keep in mind, each change impacts the instrument’s sound. From the shape and thickness of the plates, to the styling of the f-holes and scroll, every single detail of your violin’s design is significant.
Remember, the design is not set in stone at this stage. Revise and craft your design until it feels like your dream violin. But once the building process begins, there’s not much room for alterations. So, make your design choices wisely – they will shape the form and voice of your future violin.
Carving the Violin Body
Carving the violin body, also known as the belly and the back, is a critical part of the violin-making process. It begins with selecting the perfect piece of wood. Usually, spruce or maple is preferred due to their acoustic properties.
Chisels and gouges are employed to carve the outer curve of the body meticulously. The blueprint of a violin is used to ensure accurate shape and measurements.
Then, it’s time for the finer details. The artistry truly starts with carving the inner shape, which significantly impacts the violin’s sound. It must be exceptionally precise; a thickness difference of a millimeter can drastically alter the sound.
Finally, the bass-bar is attached to the belly to further enhance the instrument’s acoustics. Paying great attention to detail during this step is key to producing a violin of exceptional quality. It is indeed a craftsman’s labor of love.
Crafting the Violin’s Neck and Scroll
Crafting the neck and scroll of a violin requires meticulous attention to detail and a profound understanding of the violin’s anatomy.
Starting with a solid piece of maple, skilled luthiers carve into this blank canvas, beginning with the pegbox, which houses the tuning pegs. As the wood is painstakingly shaped, the neck starts to emerge.
The complexity increases while shaping the scroll. Marked first and then carefully sculpted, the spiral form of the scroll is a distinctive feature of the violin – a true melding of function and artistry.
Experts then refine and smooth the entire piece until it perfectly fits the body of the violin. This painstaking work can take several hours to complete.
The creation of the neck and scroll is a testament to the precision required in violin making, and indeed, the finesse of the craft.
Assembling the Four Strings
Once your violin body is fully primed and polished, the time will come for the installation of its fundamental drivers – the four strings.
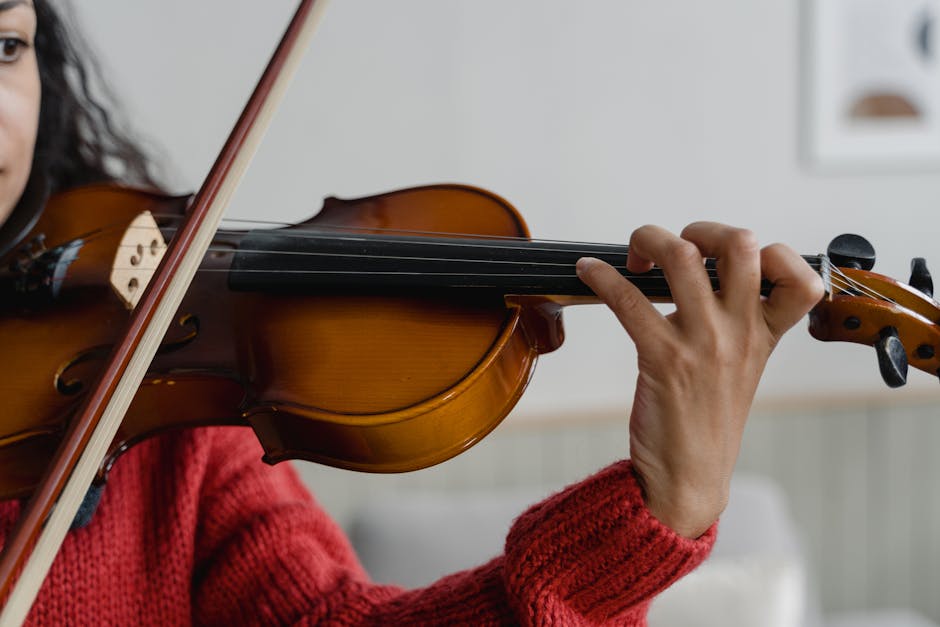
Begin by threading each string through the corresponding hole in the tailpiece, found at the base of the violin. This should be done in order from left to right: G, D, A, E. Next, gently whip the string around and guide it all the way up to the scroll.
Now, position the strings in their respective grooves on the bridge and in the nut. Be careful not to exert too much pressure during this process, to prevent snapping these crucial components.
Finally, wind each string around its peg, securing it by pushing the peg into its hole. As each string is tightened, it will begin to yield a recognizable musical note. Your violin is now strung and ready for the next step in the construction process.
Finishing off with the Fingerboard & Bridge
Once the violin body is crafted, focus shifts to the fingerboard and bridge.
The fingerboard, usually made of ebony, is glued to the neck. Extreme precision is necessary in shaping it as any defects affect playability. It has a precise curvature, taper, and thickness corresponding to specific dimensions.
Next is the bridge. Careful attention is devoted as it’s not glued but rather held by the tension of the strings. The bridge controls the position and shape of the strings, thus affecting tone and pitch.
The bridge’s top edge is shaped in response to the fingerboard’s curvature. The feet of the bridge are thinned and perfectly shaped to fit the top of the violin.
Additional adjustments are made to ensure optimum resonance, setting a well-harmonized violin. Completing these final components exhibits the fine balance between science and art in violin making.
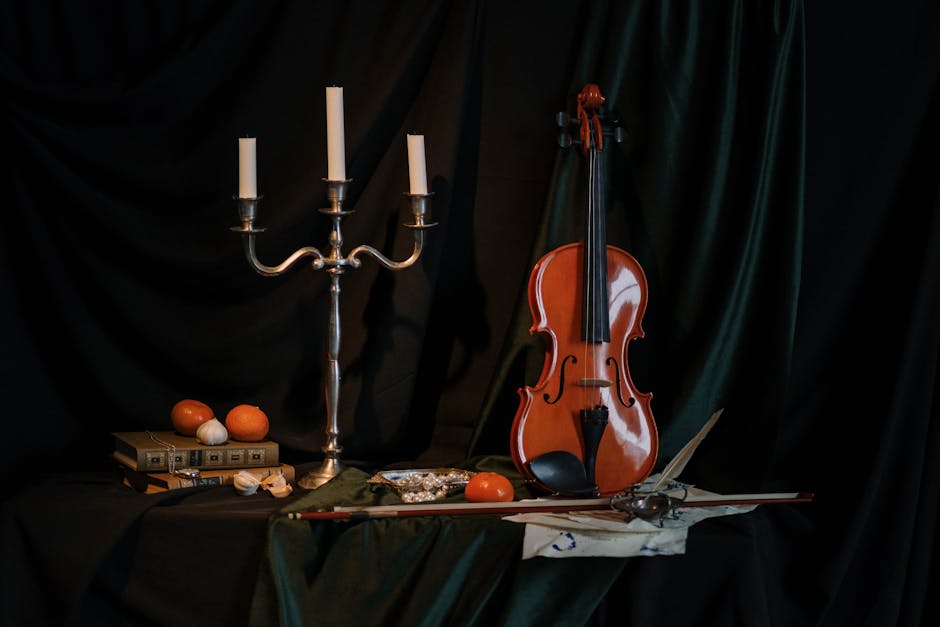
Applying Varnish on Your Violin
Varnishing your violin can be a transformative process, adding luster and protection to your instrument.
We begin by preparing the violin’s surface. We gently cleanse it with a soft cloth, removing dust and residues. Once clean, we seal the violin with a few coats of sprit varnish. This creates a barrier between the bare wood and colored varishes, ensuring the pigments don’t penetrate and stain the wood.
When the sealant has dried, we apply colored varnish. We recommend the professional-grade varnishes. They’re high quality, durable, and dry to a beautiful, vibrant finish. Multiple thin layers are applied with a brush, allowing each coat to dry thoroughly before applying the next. In the final step, a light buffing gives the violin a sleek finish.
Remember, varnishing your violin is a delicate task. If uncertain, seek assistance from an expert restorer.
Setting Up the Violin Tailpiece
The tailpiece of a violin plays a crucial role in the instrument’s sound output, making its careful setup essential.
Begin by gently resting the violin on a padded surface to avoid causing any damage. Take your tailpiece — usually made from wood, plastic or lighter synthetic materials — and align it properly.
Next, attach the tailgut. This is either made of gut or synthetic materials, however, modern violins commonly use the latter. The tailgut’s role is to hold the tailpiece in place, connect it to the endpin, and adjust the tailpiece’s distance from the bridge.
Slide the tailgut onto the tailpiece’s holes and hook it onto the endpin, ensuring a secured attachment. Aim to approximately position it between one sixth to one ninth of the distance from the bridge to the end of the violin. Your setup is now complete — and ready to resonate beautifully.
Leave a Reply