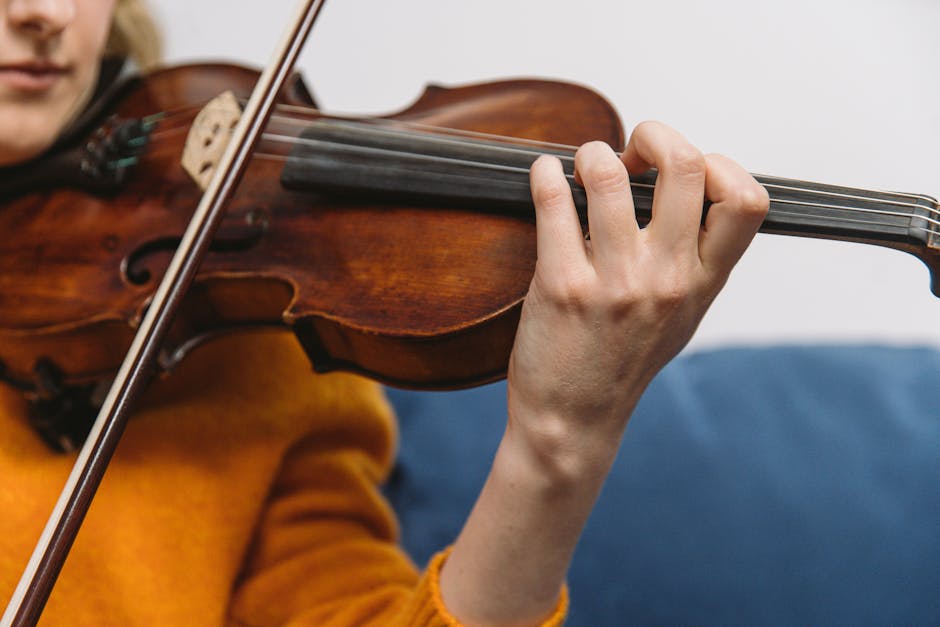
When it comes to maintaining your violin, every piece counts, including the bow. Each strand of hair on your bow plays a crucial role in producing the beautiful sound you love. Over time, however, these hairs can wear out, break, or simply lose their effectiveness, leading to a less than optimal playing experience.
Is rehairing a violin bow something you can do by yourself?
The task can feel daunting, even for seasoned players. But is it worth giving a shot? Can it save you from frequently visiting the repair shop?
This article explores the intricacies of the rehairing process and the factors to consider before deciding to undertake the task yourself. Understanding how this process works will allow you to make an informed decision about whether rehairing a violin bow is a viable DIY task for you.
Need for Rehairing: Why and When?

Without a doubt, even the finest violin bow will need a rehair at some point.
The primary reason bows need rehairing is due to hair breaking or stretching over time, which can significantly alter its tension and responsiveness.
Moreover, while playing, rosin dust accumulates on the bow hair, causing it to lose its grip on the violin strings, resulting in a less articulate tone.
So, when should you consider having your bow rehaired?
A general rule is to rehair your bow every six to twelve months for regular players. However, the frequency also depends on the playing intensity and hour, environmental conditions, and how well you maintain your bow.
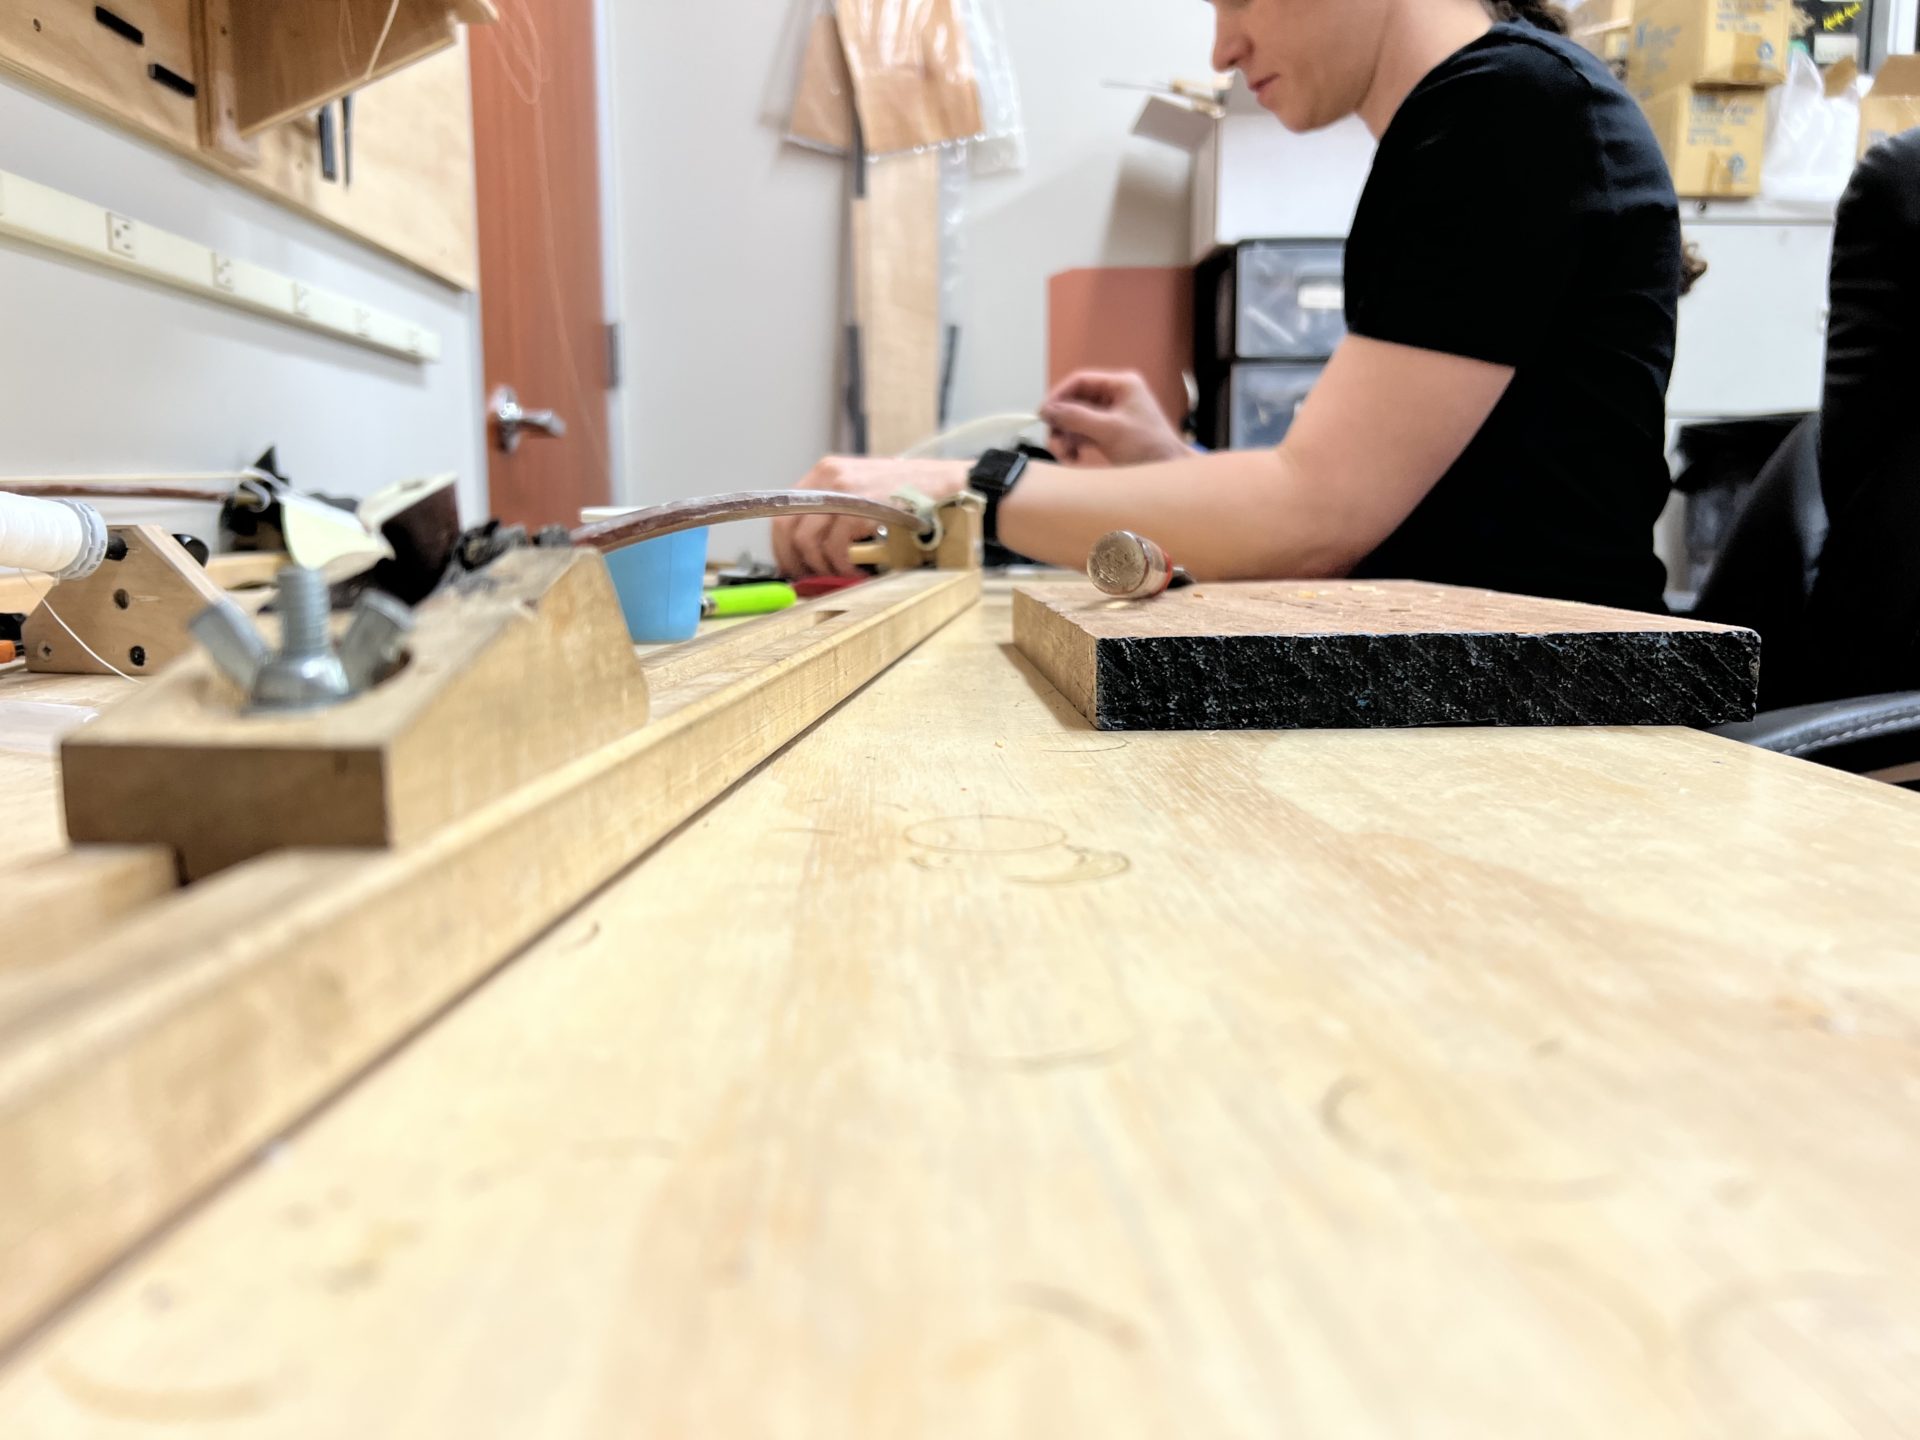
Though it is tempting to perform a DIY rehair, experts advise against it. It requires technical precision and deep knowledge about violin bows which an average violinist may lack.
Tools Required for the Rehairing Process
Rehairing a violin bow demands specific, high-quality tools to ensure a professional outcome. Firstly, you’d require a hair gauge to measure the appropriate thickness of horsehair.
Secondly, a carefully-crafted rehairing jig is essential to hold the bow in place during the rehairing process.
Rosin powder is needed to temper the freshly done horsehair to draw optimal sound from the instrument.
You must also have a quality wedge knife to precisely cut the plugs which hold the horsehair in the bow.
Additionally, pointed pliers are required to remove and insert the small metal eyelet from the frog end of the bow.
A strong, flexible superfine sandpaper helps to gently clean the frog and stick, preparing them for rehairing.
Lastly, a high-temperature hot glue gun is required to secure the horsehair into place. Adequate tools are key to successfully rehairing a violin bow yourself.
Choosing the Right Bow Hair
Choosing the right bow hair is a critical aspect of rehairing your violin bow.
Bow hair is typically made from horsehair, usually from the tail of a white stallion. However, the quality of hair can vary greatly depending on factors such as the horse’s diet and the climate it is raised in.
Aging is also a crucial element in assessing horsehair. Younger hair tends to be thinner and break more easily, making it less ideal. Conversely, older stallion hair is thicker and more durable, hence considered as the best option.
Synthetic bow hair is also available, though it lacks the grip and tonal quality of horsehair.
So, it’s imperative to choose the right type of bow hair that meets your specific needs, preferences, and playing style. Remember, a well-functioning bow can significantly enhance your playing experience.
Step-by-Step Guide: Removal of Old Hair
Before you start, make sure you have a new hank of bow hair, a sharp small-blade knife, a small flat-head screwdriver, and rosin. Carefully loosen the tension on your bow and slide off the frog.
Next, using your small knife, remove the old rosin on the bow stick. Be sure not to scratch the finish.
Delicately, with your small flat-head screwdriver, pry out the wedges at both ends of the bow. This step requires patience. It’s essential not to damage the fragile bow tip or the frog’s hair slot.
Once the wedges are removed, you can easily slide out the old, worn-out hair. Now you have successfully removed the old hair and your bow is ready for the new hair. Remember to always handle your bow with care, as it’s a sensitive instrument that can easily be damaged.
How to Insert New Hair on the Bow
Perspective is key in this venture. Begin this process by holding the violin bow, with the frog end facing you. Now, take your new hank of bow hair (remember – it needs to be longer than your bow) and insert one end into the hollow slit at the tip of the bow.
Secure it by threading the hair through the tiny hole. Then, gradually insert the other end of the hair into the frog. Be sure to uniformly disperse the hair while confirming it remains straight. Tighten the screw at the frog end to secure the hair in place.
It’s crucial to not over-tighten as it can cause breaking. Lastly, apply rosin generously to the newly inserted hair before playing- this will provide grip on violin strings. Do remember, this task requires patience and precision.
Properly Securing the Hair: Tips and Tricks

Before undertaking the rehairing process, bear in mind that securing the hair with appropriate tension is imperative. Missteps in hair tension may influence your bow’s performance, or worse, damage it.
Begin by gently inserting the new hair into the frog and wedge it. Ensure the hair is evenly spread before bow tip insertion.
A tip: soaking the hair in warm water for five minutes prior to insertion helps achieve optimal tension.
At the bow tip, sandwich the hair between the wooden plug and the interior of the bow tip. Remember, the hair should form a slight arc when the bow is relaxed.
Lastly, trim any excess hair from the top and bottom for a cleaner look.
And remember, practice makes perfect. Over time, you’ll be able to gauge the right hair tension by feel alone.
Finishing Touches: Combing and Rosining

After you’ve successfully replaced the hair on your bow, move on to the finishing touches to ensure smooth playability. Use a fine-toothed comb to comb through the bow hair. This ensures that it gets evenly distributed and lines up properly.
Remember that smoothness is key here.
Next, comes the essential process of “rosining.” Rosin adds friction to the bow hair and helps you produce sound. Without appropriate rosin, your bow will merely slide over your strings without creating any melody.
Apply the rosin by moving it up and down the length of the bow hair until you see a white residue. Always remember to start lightly and gradually apply more if needed. Too much rosin can create a dust that messes with your playing.
Common Mistakes to Avoid While Rehairing

While it is possible to rehair your violin bow yourself, there are several common mistakes to avoid.
The first is using poor quality hair.
Be sure to source the best quality horsehair you can find, as it greatly affects the sound of your instrument.
Next, avoid over-tightening when installing the new hair.
This can cause unnecessary stress and damage to your bow.
Also, ensure the hair is evenly distributed along the breadth of the bow. An uneven distribution can lead to biased bowing and even horsehair breakage.
Lastly, it is crucial to keep the plug square.
A rounded plug can cause the hair to slide, making it impossible to play your violin properly. These tips should help prevent you from damaging your bow during the rehairing process.
Leave a Reply